iOS Setup for Mobile Testing
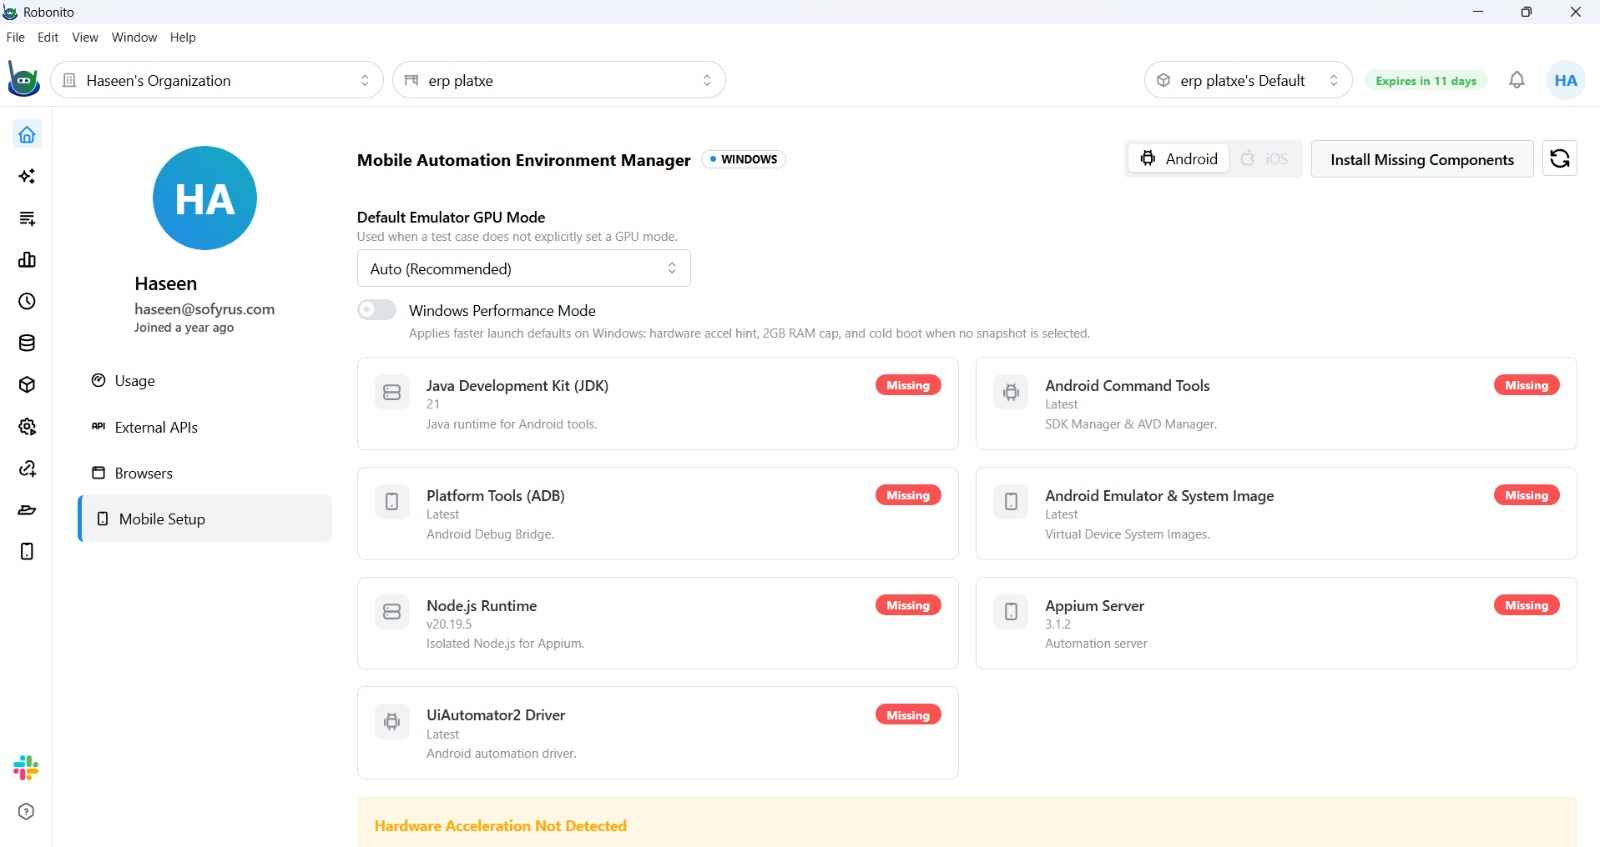
iOS testing in Robonito requires a macOS machine with Apple Silicon (M1, M2, M3, or later). Unlike Android — which runs via an emulator on any operating system — iOS simulators are Apple-exclusive and cannot run on Windows or Linux.
Prerequisites
Before recording or executing iOS tests, ensure the following are installed and configured on your Mac:
| Requirement | Notes |
|---|---|
| macOS with Apple Silicon | M1 / M2 / M3 chip. Intel Macs are not supported for iOS simulation. |
| Xcode | Install from the Mac App Store. Required for the iOS Simulator and build tools. |
| Xcode Command Line Tools | Run xcode-select --install in Terminal. |
| Node.js | Required for the Appium server (managed by Robonito). |
| Appium Server | Managed and installed by Robonito automatically. |
| XCUITest Driver | Appium's iOS automation driver — installed by Robonito automatically. |
Automatic Setup via Robonito
Robonito's Mobile Setup wizard handles the Appium and driver installation automatically. On macOS, it installs iOS-specific components alongside the Android toolchain:
- Open Robonito and navigate to Environment Manager → Mobile Setup.
- Click Install All.
- Robonito detects that you are on macOS and installs:
- Node.js runtime (isolated)
- Appium server
- XCUITest driver (for iOS)
- UiAutomator2 driver (for Android)
- Wait for all components to show a green INSTALLED status.
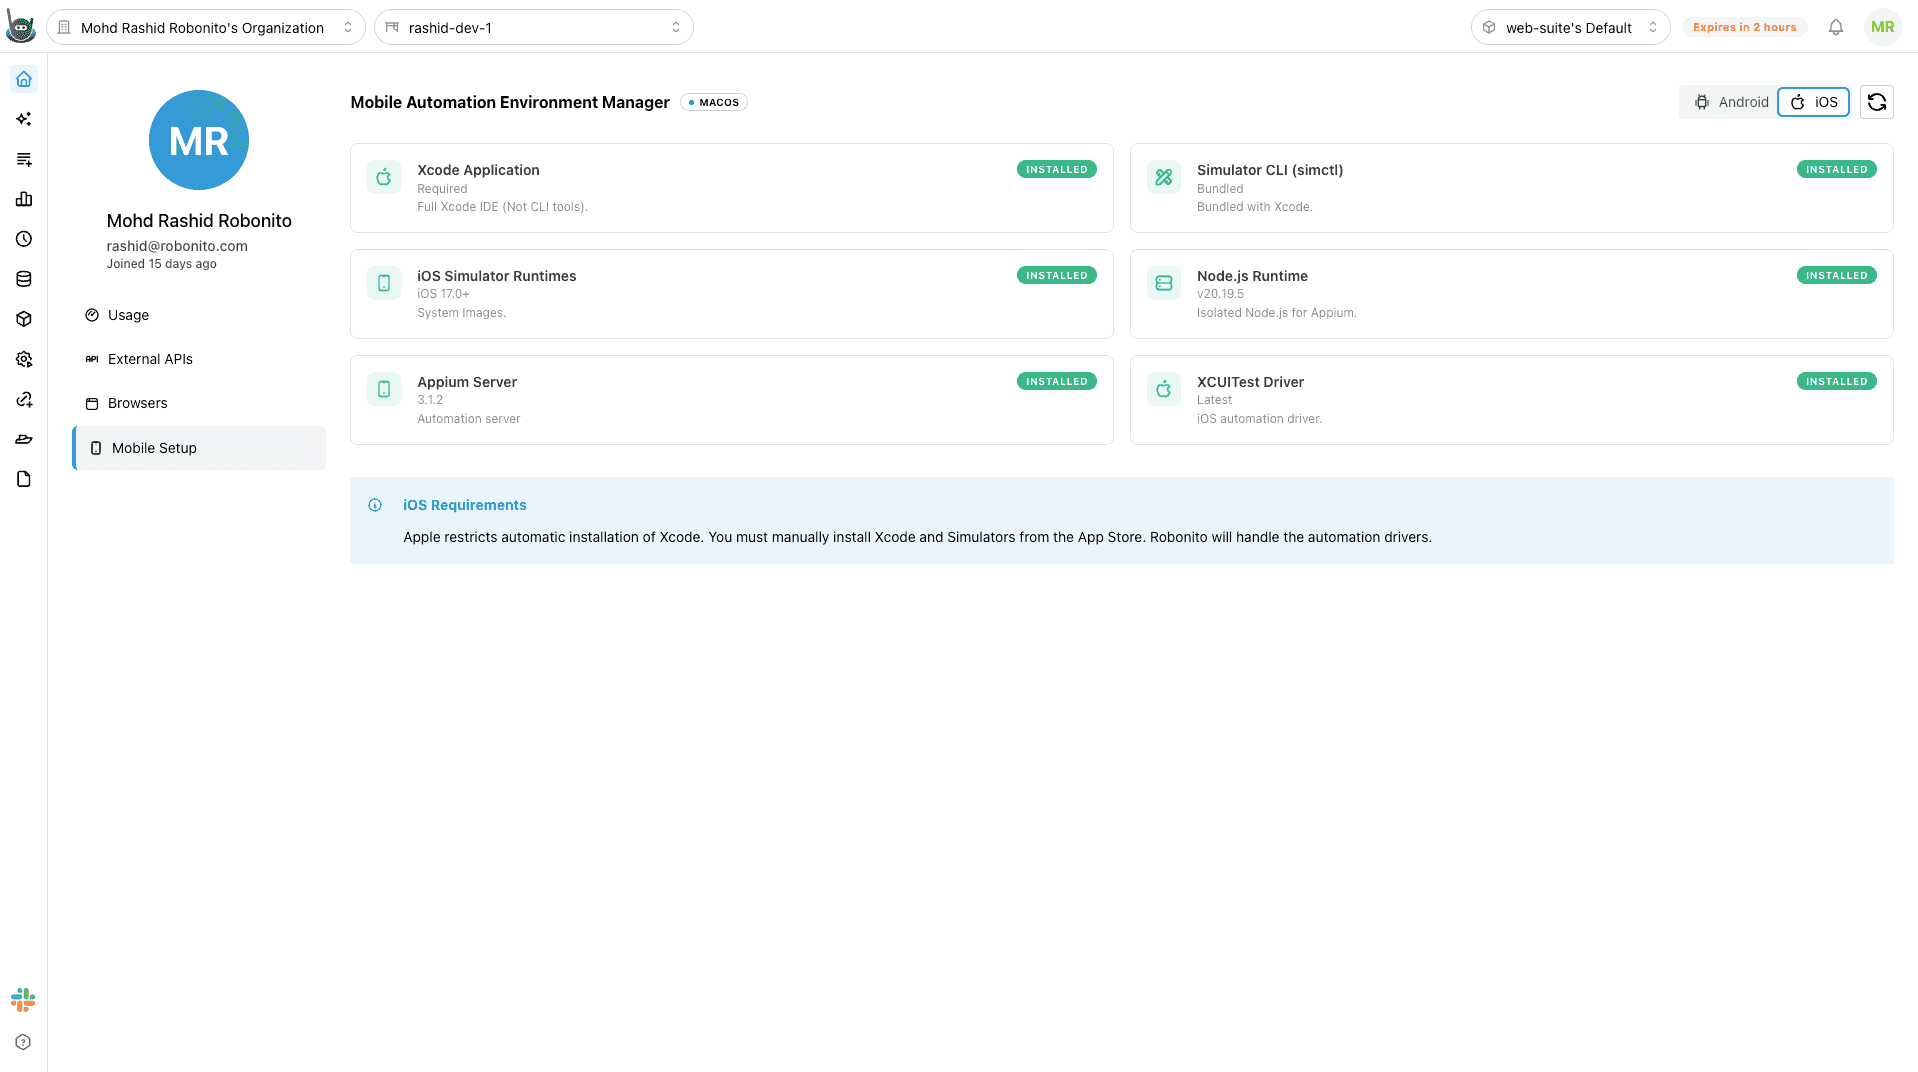
Note: Xcode itself must be installed manually from the Mac App Store — Robonito cannot install it automatically due to Apple's distribution restrictions.
Accepting Xcode License
If you see an error like Xcode license not accepted, run the following in Terminal:
sudo xcodebuild -license accept
Then re-run the Robonito Mobile Setup install.
Creating an iOS Test Case
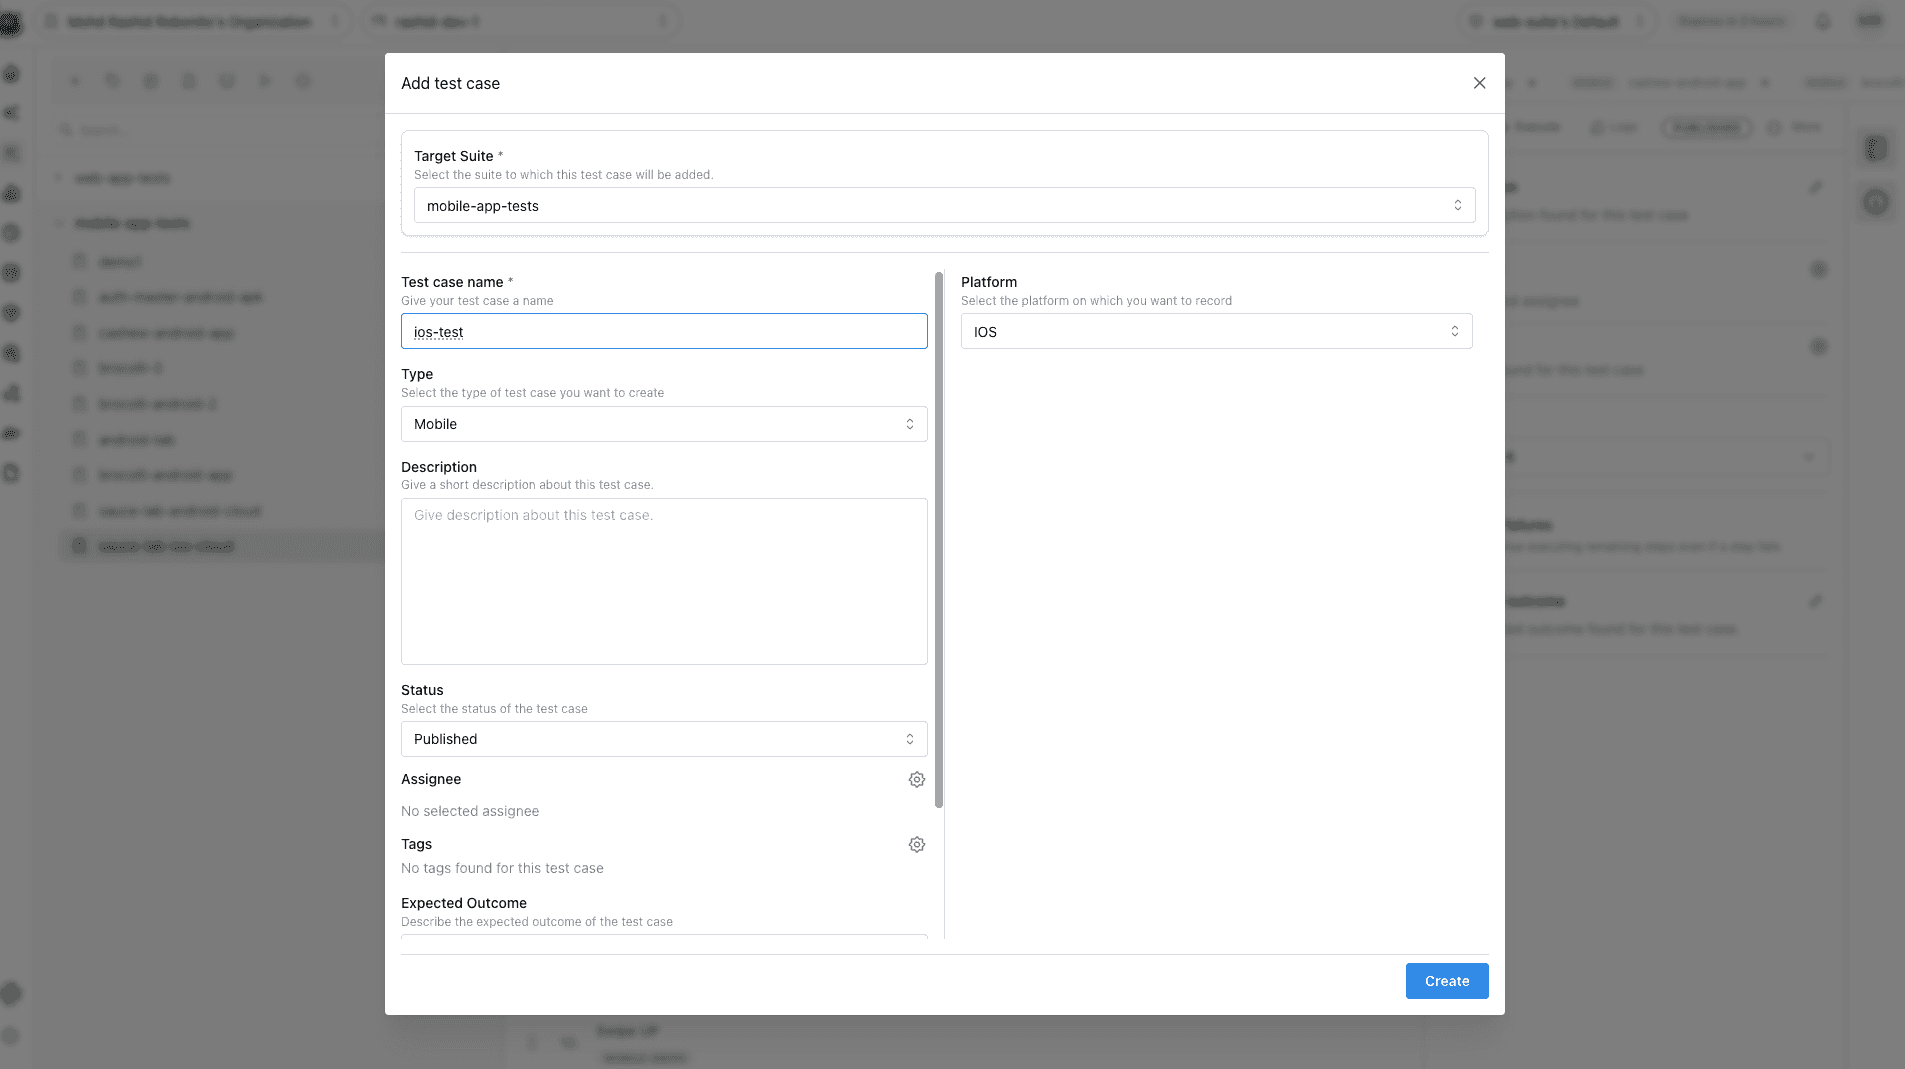
- In the Test Explorer, click + New Test Case.
- Select the target suite.
- Choose Mobile as the test type.
- Choose iOS as the platform.
- Click Create.
Recording an iOS Test
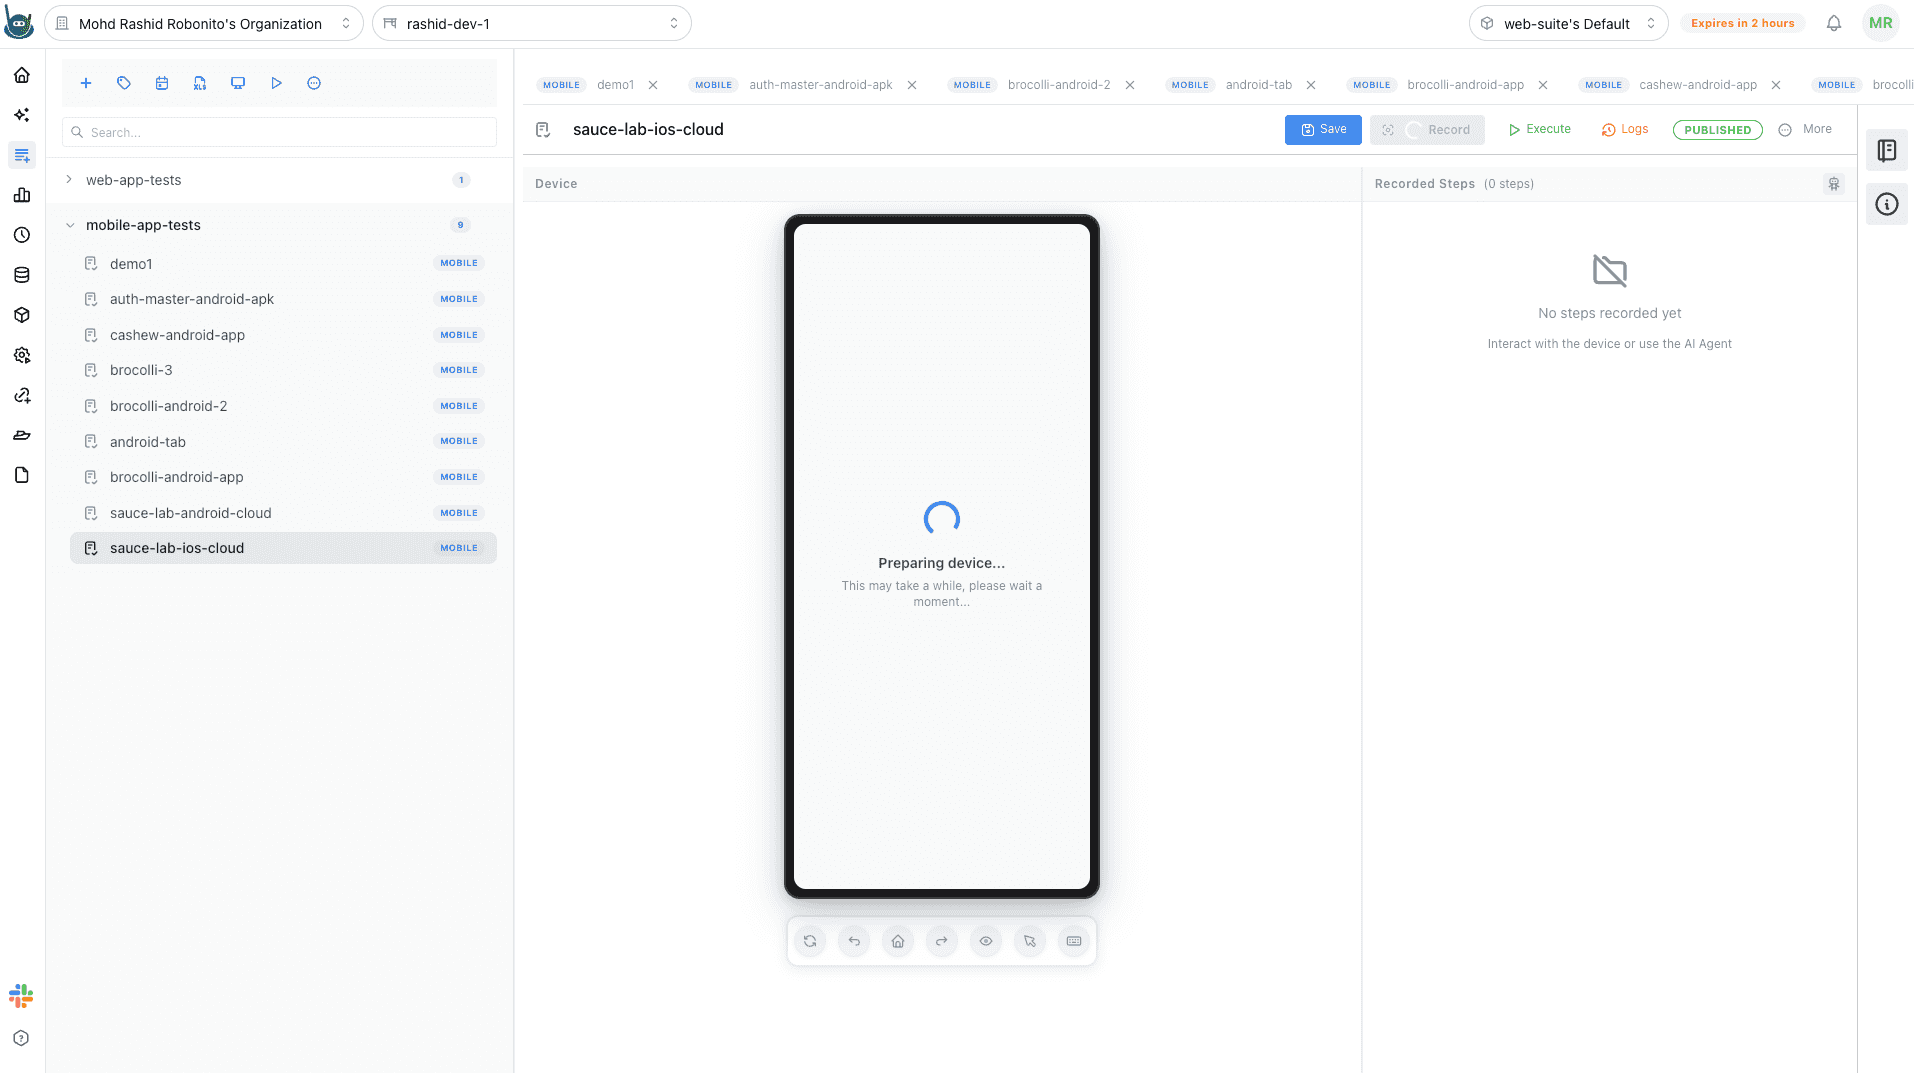
When you click Record on an iOS test case:
-
A configuration dialog appears:
- Platform: iOS (pre-selected)
- App File: Upload your
.ipafile — the compiled iOS application package. - Bundle ID: The application's bundle identifier (e.g.,
com.yourcompany.yourapp). This is required for Appium to launch the correct app on the simulator.
-
Click Start Recording. Robonito:
- Launches the iOS Simulator.
- Installs the
.ipaon the simulator. - Opens the app.
- Begins capturing your touch interactions.
iOS-Specific Interaction Nuances
iOS and Android applications behave differently in ways that affect how test steps are recorded and played back. Be aware of the following:
Tap vs. Click
iOS uses tap events natively. Robonito records iOS interactions as mobile-tap nodes (not click nodes used in web tests). Each tap captures the accessibility identifier or XPath of the tapped element.
Text Input
iOS text input on a simulator uses the software keyboard. Robonito records mobile-input nodes that type text directly into fields without relying on the keyboard animation. If a field requires a specific keyboard type (numeric, email), the input step captures that context automatically.
Swipe and Scroll
iOS scroll behavior is physics-based (momentum scrolling). Robonito records mobile-swipe nodes with directional parameters (up, down, left, right) and distance. For long lists, you may need multiple swipe steps to reach deeply nested content.
System Buttons
iOS hardware-equivalent actions (like the Home button or Back gesture) are recorded as mobile-system-button nodes. Common system actions available:
| Action | Description |
|---|---|
| Home | Returns to the iOS home screen |
| Back | iOS back gesture (swipe right from left edge) |
Accessibility Identifiers
iOS automation via XCUITest relies heavily on Accessibility Identifiers set in the app's source code. If your app does not set accessibility identifiers on UI elements, Robonito falls back to XPath — which is less stable across app updates. Ask your development team to add accessibilityIdentifier attributes to key interactive elements for the most reliable test selectors.
Alerts and Permission Dialogs
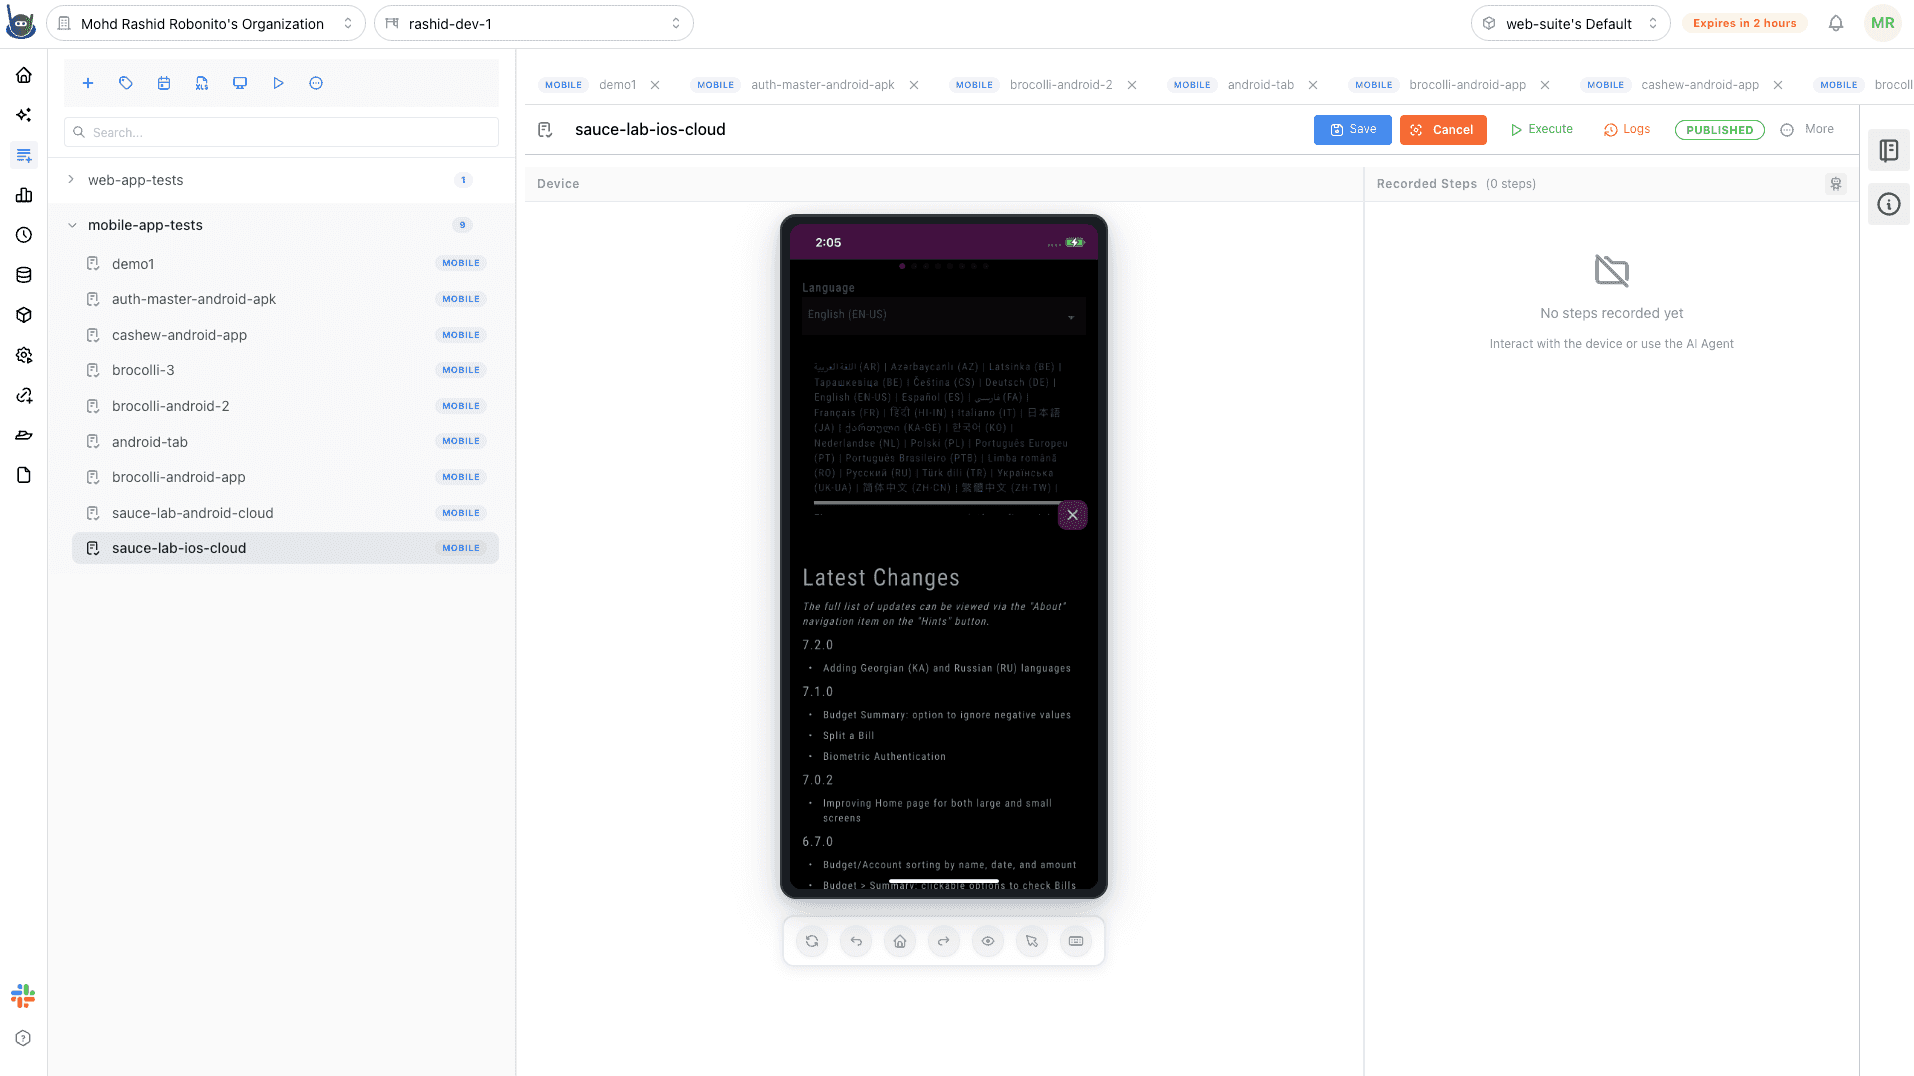
iOS frequently shows system permission dialogs (e.g., "Allow access to Camera?"). These appear as native iOS alerts outside the app's UI. Robonito records taps on the Allow or Don't Allow buttons as system-level interaction steps. Ensure your recording session handles these dialogs to avoid test failures during playback.
Assertions on iOS
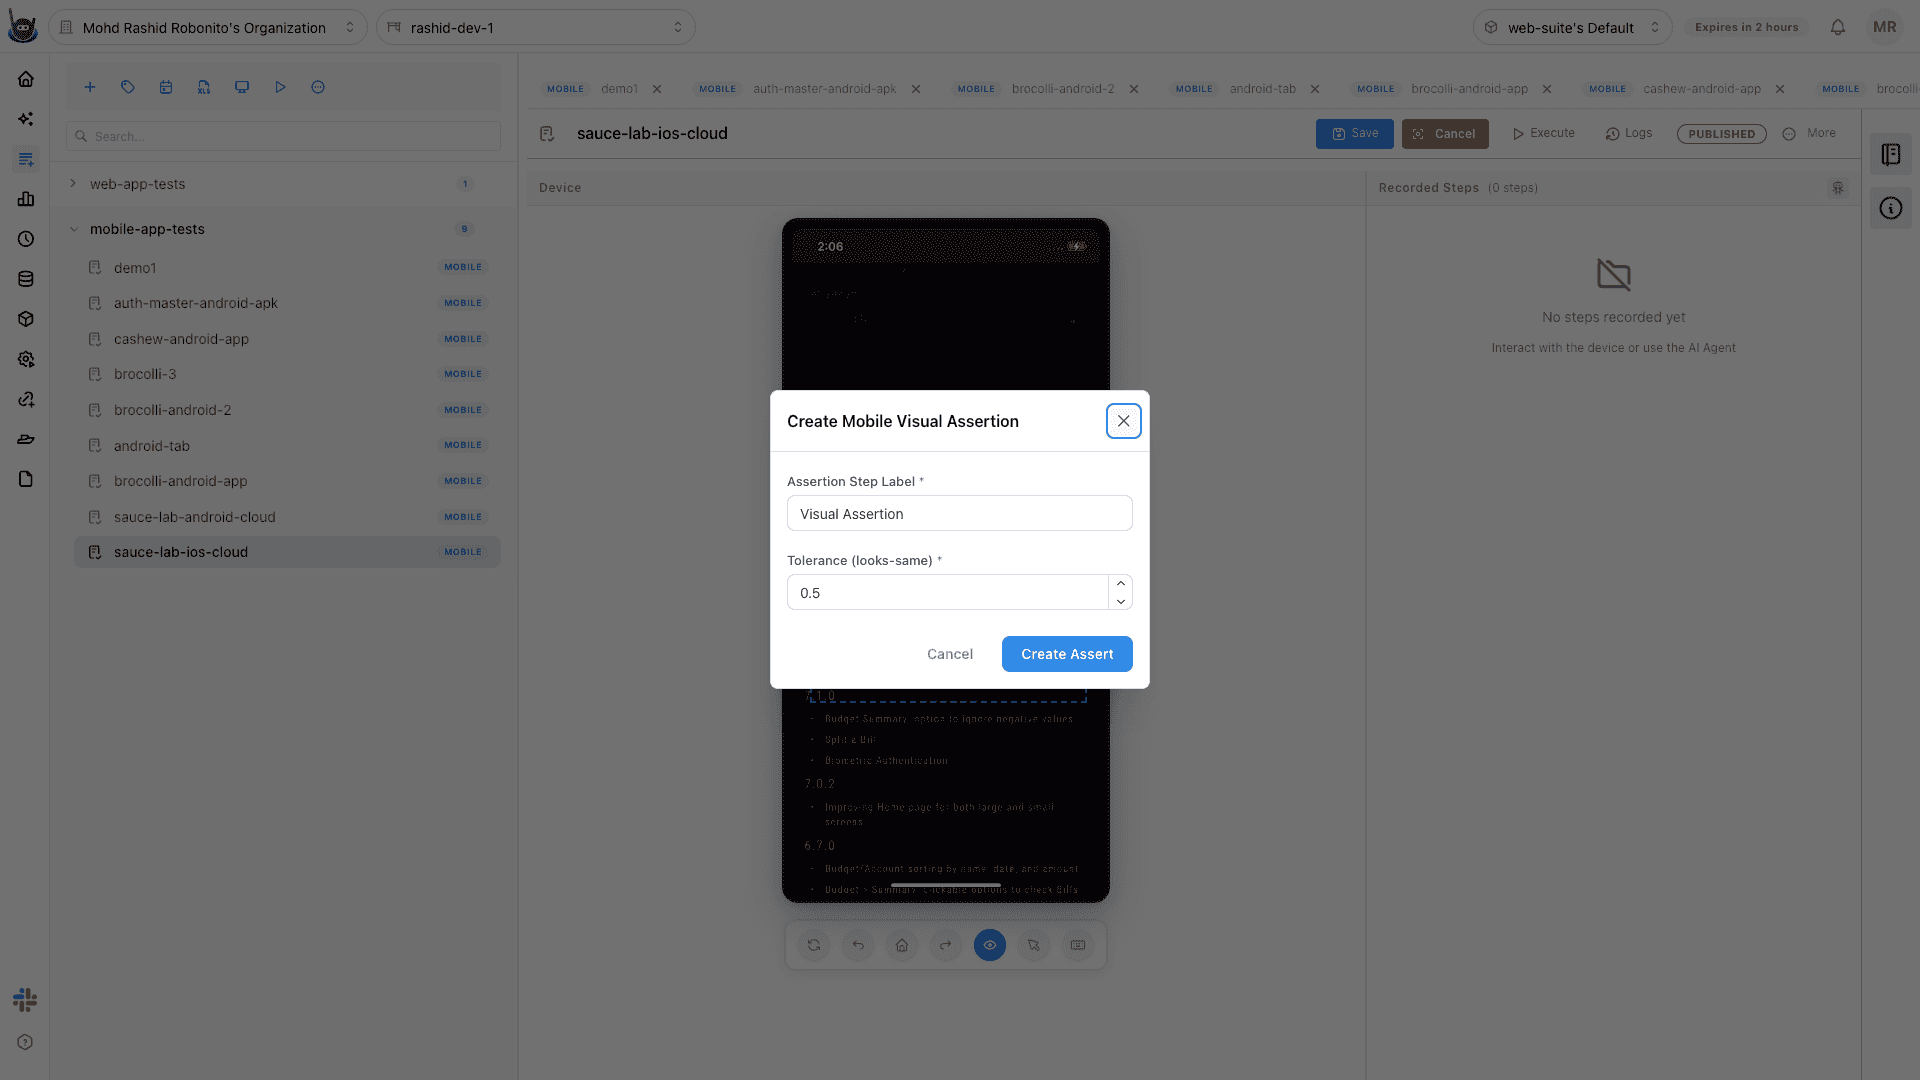
Robonito's mobile assertion (mobile-assert) node supports:
| Assertion Type | Description |
|---|---|
| Element Visible | Confirms a UI element is visible on screen |
| Element Not Visible | Confirms a UI element is not shown |
| Element Text Equals | Validates the exact text content of a label |
| Element Text Contains | Validates that a label contains a substring |
| Element Enabled | Confirms an element is interactive (not disabled) |
Running iOS Tests
iOS test execution follows the same flow as Android — use the Execute button on the test case and ensure the execution mode is set to Local (iOS simulation is local-only; cloud iOS execution requires a premium mobile cloud plan).
The iOS simulator launches, the app installs and opens, and Robonito replays all recorded steps automatically.
Troubleshooting
| Issue | Solution |
|---|---|
| "XCUITest driver not found" | Re-run Install All in Mobile Setup on macOS |
| Simulator launches but app does not install | Verify the .ipa file is a debug/development build signed for simulator use |
| "Instruments not found" | Ensure Xcode Command Line Tools are installed: xcode-select --install |
| Steps fail on system permission dialogs | Add explicit tap steps for "Allow" or "Don't Allow" to the recording |
| Tap coordinates are off | The simulator resolution must match the device profile set in the test case |