Creating a New Mobile Test
This guide explains how to create a brand new mobile test case using the Robonito Test Dashboard.
Adding Test Cases to a Suite
In Robonito, tests are systematically organized within Test Suites. To create mobile-specific tests, verify you are working within a suite designed for mobile application features.
Creation Steps
-
Select the Target Suite
Choose an existing test suite from the Target Suite dropdown menu. Alternatively, type a new name to dynamically create a fresh suite.

-
Enter the Test Case Name
Provide a concise and descriptive title in the Test case name field (e.g., User Profile Login Flow).

-
Select the Test Type
Select the Mobile option as your specific test case type. This action officially unlocks device-specific testing tools within the editor.

-
Add a Description (Optional)
Enter a brief description explaining the overall purpose and expected scope of the test case. -
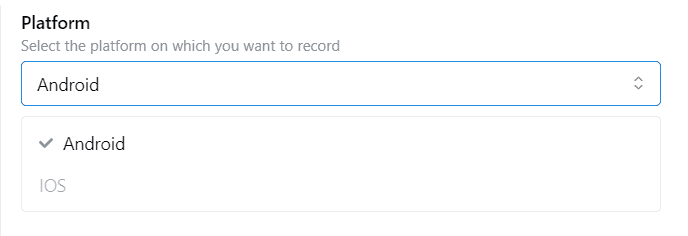
Select Your Platform
Because mobile ecosystems differ, explicitly choose the target mobile platform (iOS or Android) on which this automated test will execute.
-
Create the Test Case
Click the Create button to finalize and save the configuration. Your new mobile test case is instantly available for live recording.